Monday 5 December 2011

Salvaging an Inkjet Printer (and other broken hardware)

This was interesting enough that I thought it deserved its own post (and even more picturific than the last one).
Like on many occasions while living in the city, I recently found some old broken electronics chucked out of someone's flat before a day when the city council sends round workers to pick up bulky rubbish like broken appliances and furniture (it seems almost nobody knows how to repair things anymore, or they are too busy watching TV to do it).

First I picked up another halogen heater that broke at the base and was produced of even more plastic than the previous one I found, this time made by Hyundai (yes I'm naming names, you wasteful b*stards) yielded another synchronous motor that I could use in a rotary hydroponics prototype.

Were your amazing cars selling so poorly that you had to move into another market of things that break down quickly? The power supply on the left was torn out of something else...

Sunday 4 December 2011

While Sod's Law=True; Something Breaks; Fix It; EndWhile

The last few weeks have been eventful, apart from turmoil in personal life, I've made a few changes with my reprap, and taken bloody ages to get round to finally blogging this. There is still more to come afterwards too, so stay tuned.

My Adrian's Geared Extruder got jammed (again) so I took apart that old extruder to replace it.
White ABS quite stained from heat and fumes. I've seen this before somewhere.
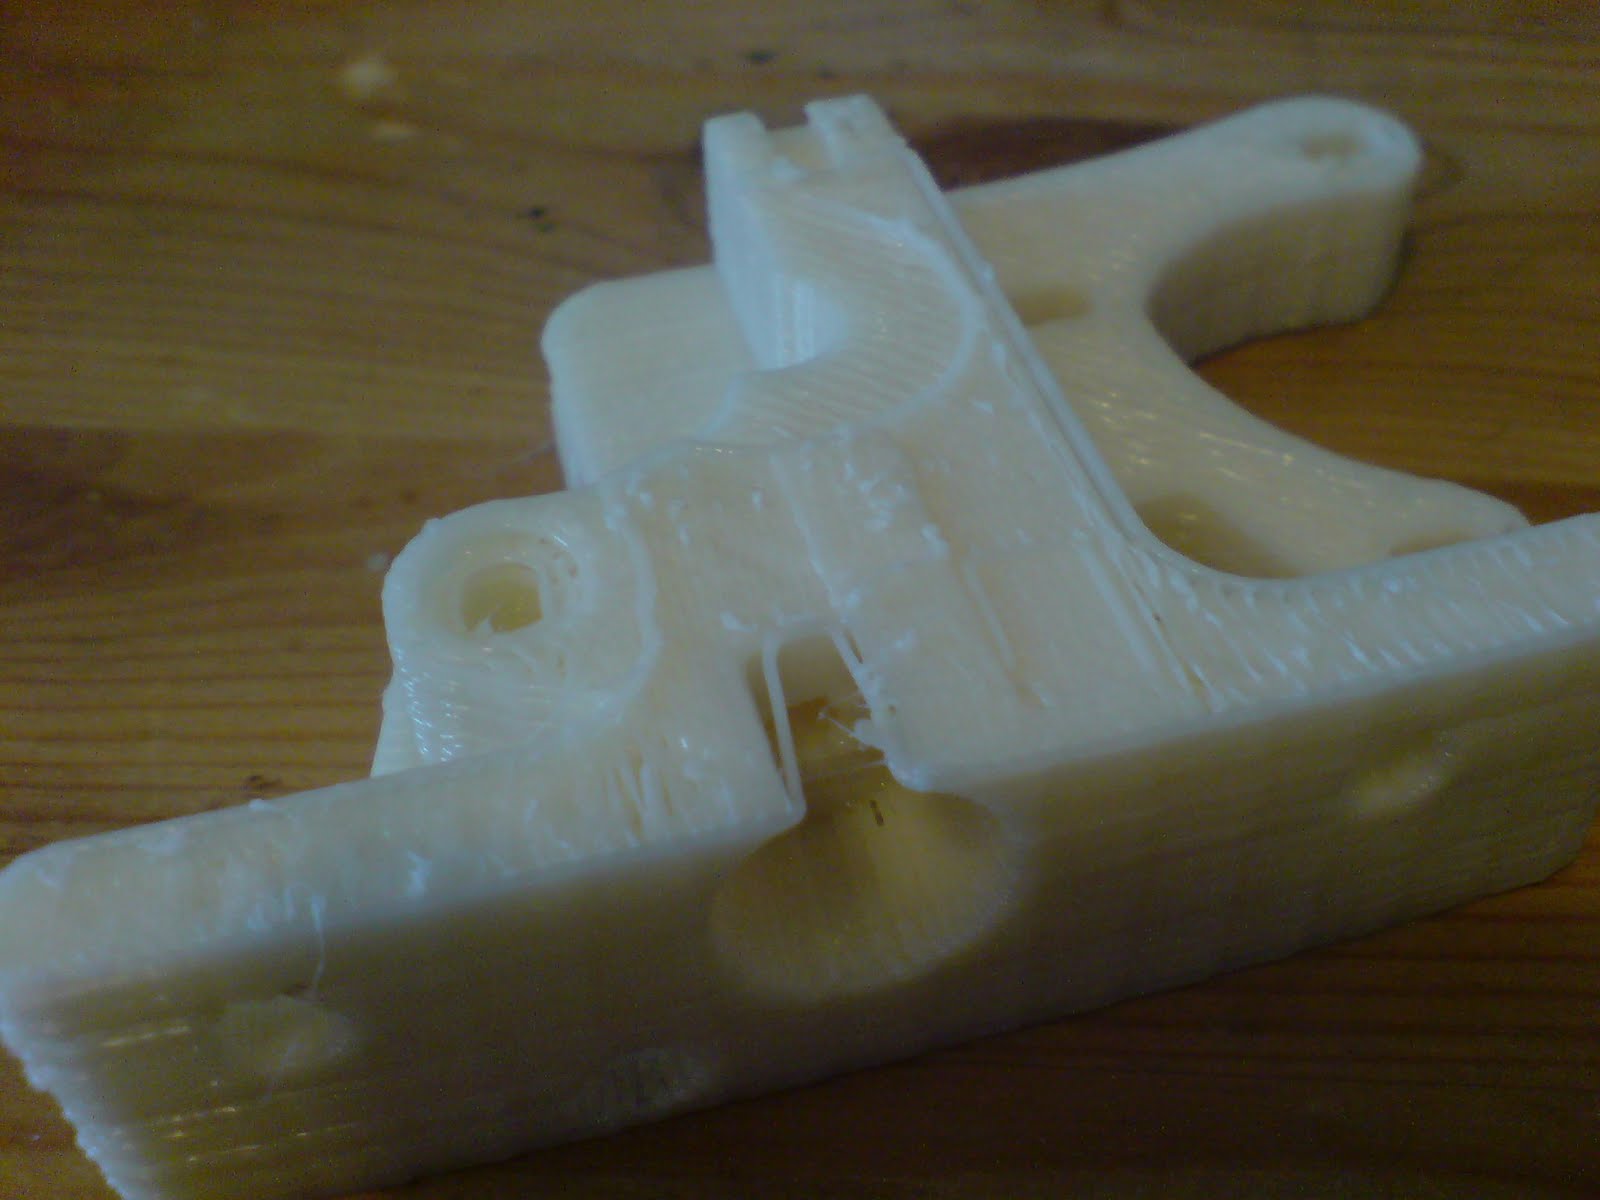
The filament drive was quite clogged, and after later cleaning it out with a brass brush I found that it wasn't just that grip had been lost and clogged it, the notches on that brass M4 insert really had started to wear out and dent flat in line with the filament path.

That part having been squashing and grinding at the plastic as usual, this came out:

So, with a bracket that I customised for shorter bolts from another design someone sent me, I hobbed an M8 bolt and constructed a Hinged Accessible Wade's Extruder to GregFrost's design.
My first attempt, not too bad (moved along slightly at one point when I found a slim washer that would allow me to cut at a better distance along the bolt), though I did another one later that was better.
I found that the hole for the PTFE insulation was too small, and after beginning to try and carve it bigger, thought 'screw this' and plugged the hole with a piece of bottle cork with a hole drilled through. :)
The oversized cork later got squashed very slightly as it took up the compression from the hot-end fixing bolts.
I found that this extruder actually wouldn't fit on the regular x-axis carriage due to the PEEK block orientation; I earlier thought it would be OK when looking at how the bolts would sit in relation to the carriage insides, but didn't realise that on installing the extruder, the top of the PEEK block would be higher than the bottom of the x-carriage, so it couldn't fit in there. :(
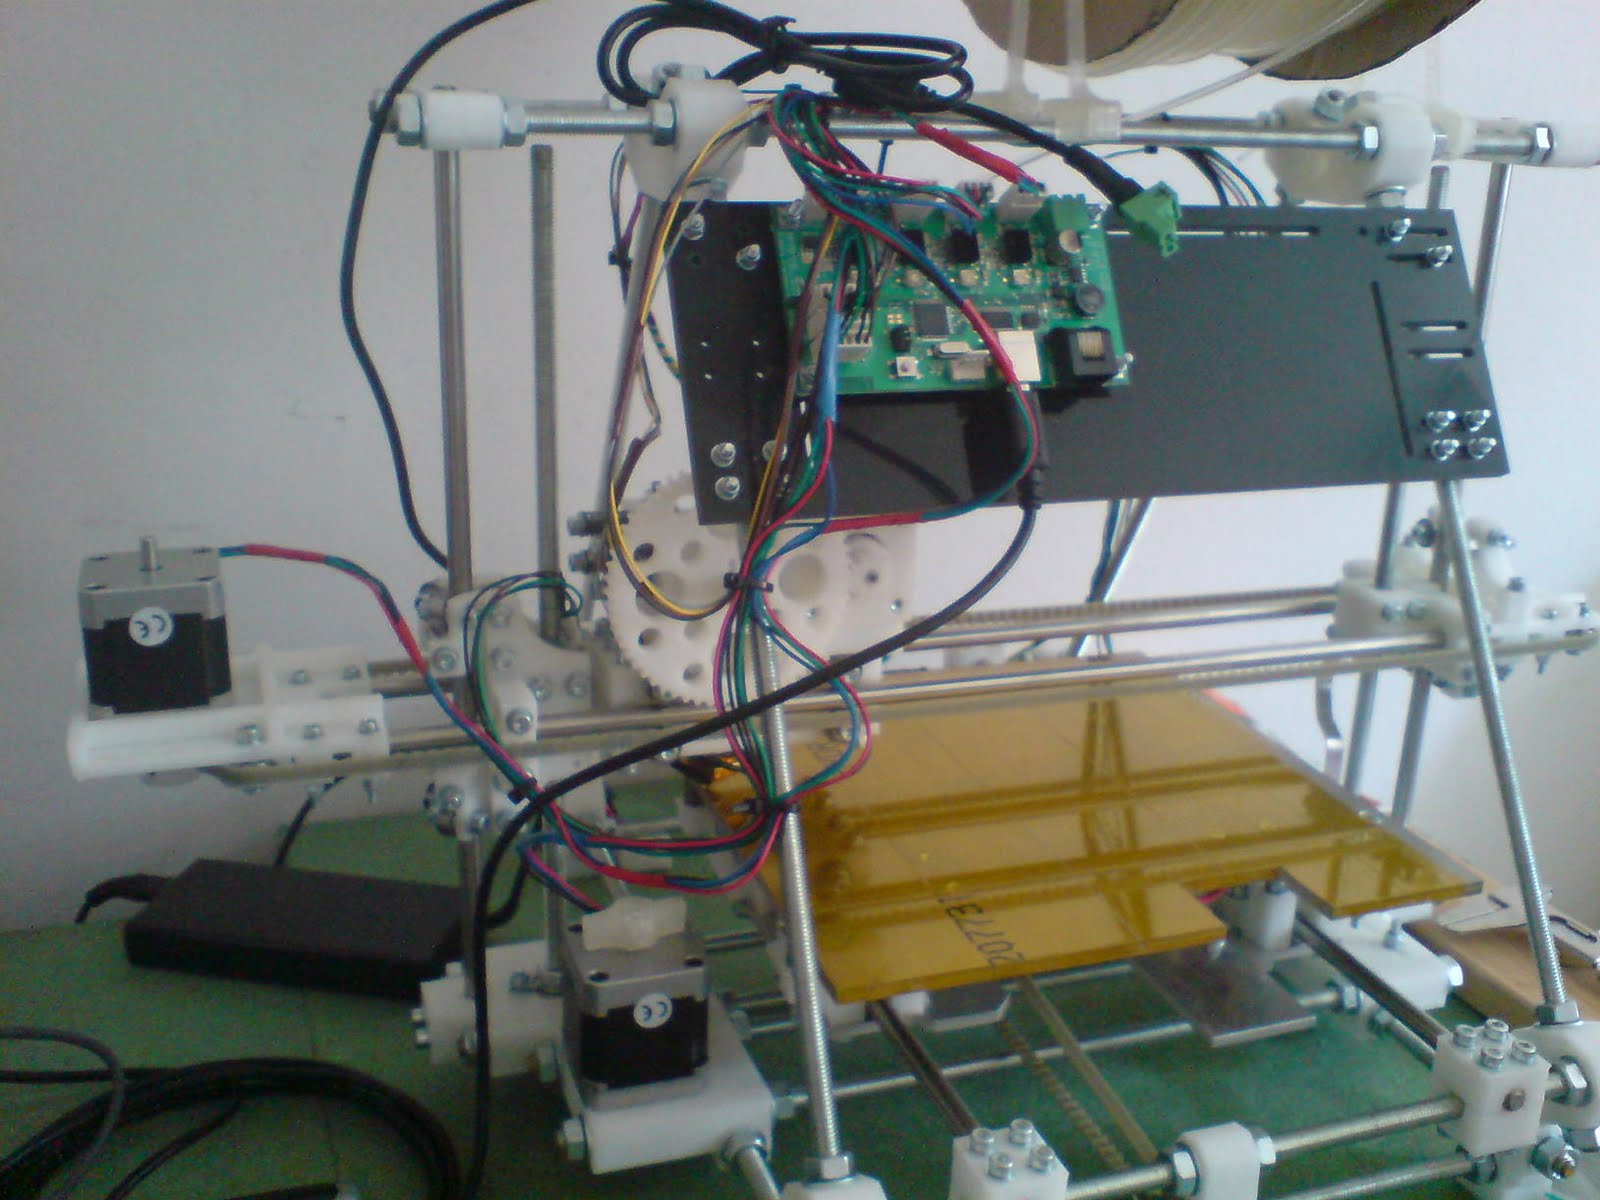
For a temporary X-axis I used Prusa's standard one for PLA bushings, since I had a spare one sitting in a box that looked ugly due to previous problems with backlash.
So far so good...
I started trying to print the final version of a clip that I had been designing for a while to go on top of the accessible extruder and stop the filament coming in from being bent too far to the side out of the hobbed bolt's grip (since there is no filament guide to enable easier cleaning, hence the name accessible extruder.
Annoyingly, the extruder started to jam when I was trying to print with PLA, and a few other things that I tried to print did similarly.
An earlier design for the clip that didn't work well due to the axis it was printed in (the bottom print surface is on top in the picture, and the bolt clip snapped off by delamination/peel stress).
Unusual about the picture above; the extruder seems to be designed to use M3 bolts to push the idler in, but I couldn't find any long enough, so I cut the captive nut holes out to M4 size and used the bolts pictured above. The spring was the stiffest small spring that I had on hand at the time (before I took apart the old extruder).
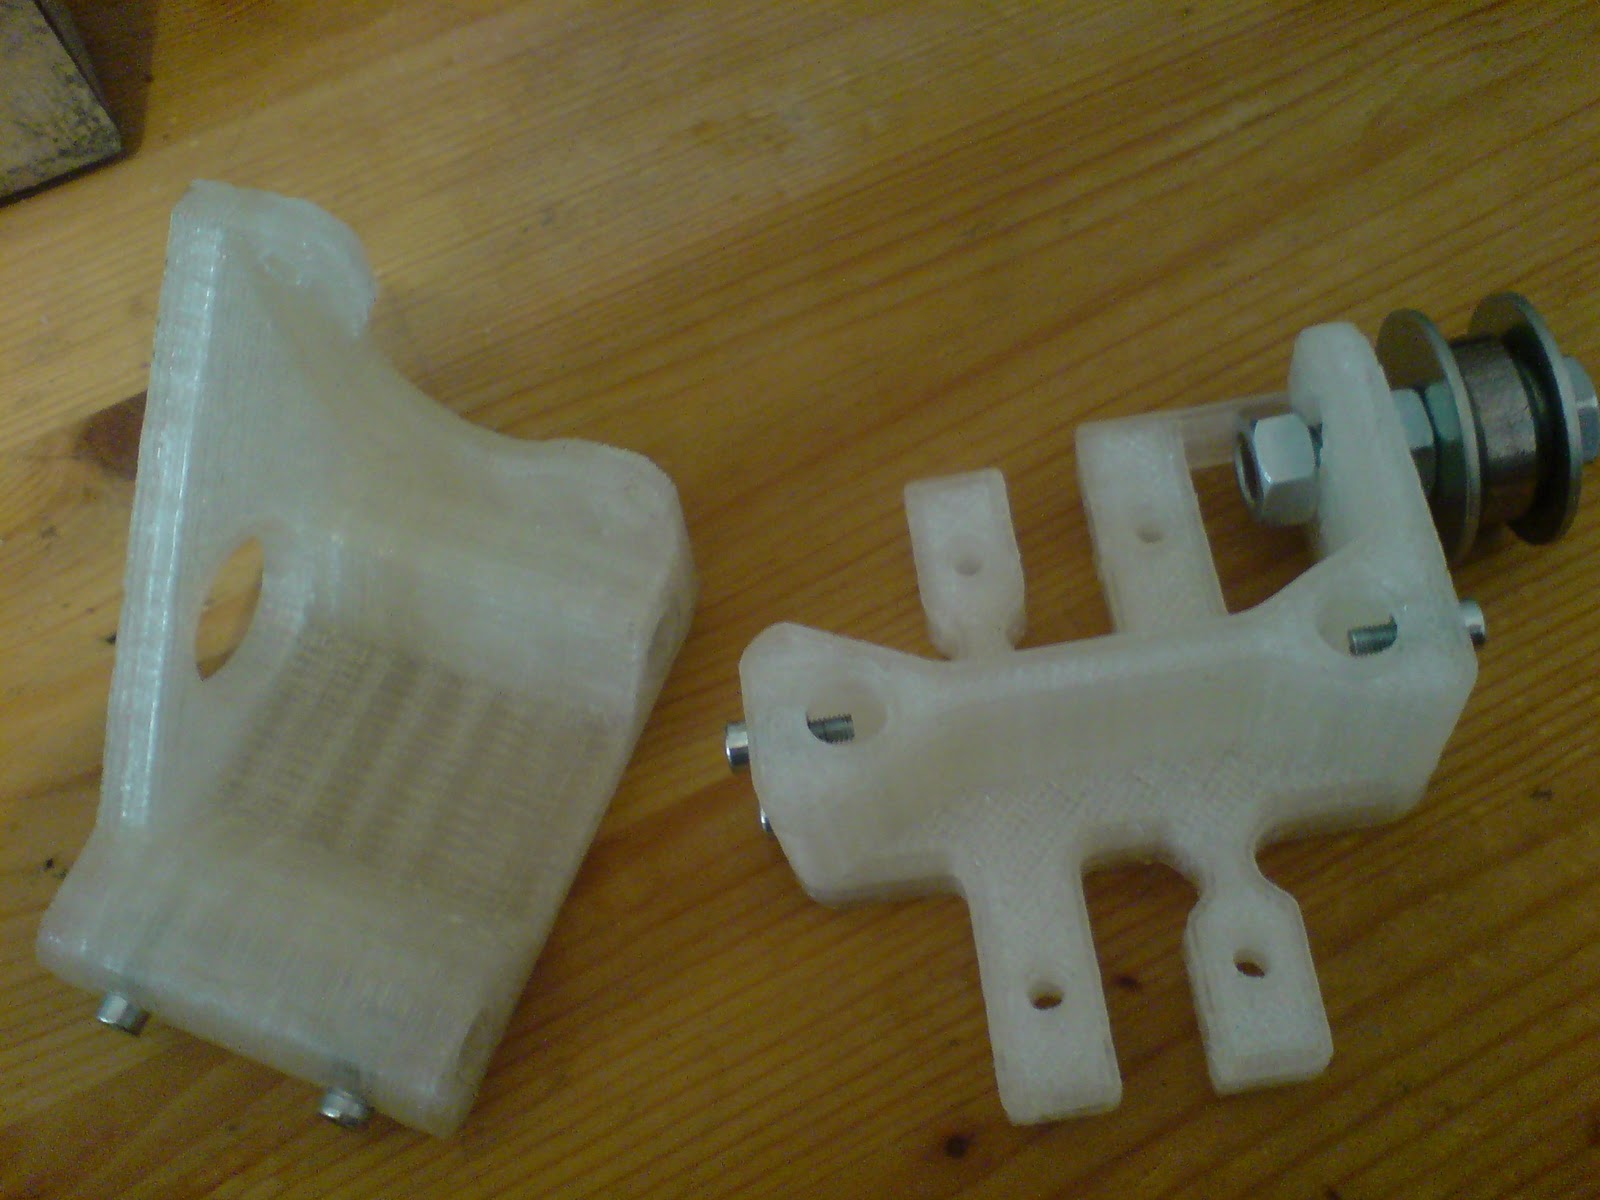
Bases of a pulley that I wanted for my x-axis idler, and the filament guide, on the left and right respectively.
When I went to the reprap IRC channel for troubleshooting suggestions I was advised to thoroughly clean out the extruder nozzle using acetone to help, since it seemed to take a lot of force to push filament through it by hand while hot, though I couldn't accurately remember whether it had always needed that much manual force.
I soaked the nozzle in acetone for about 3 days while very busy with other things and when I got round to taking it out, I found that there was still a significant amount of undissolved plastic stuck in there, which was mostly easy to remove with hand-applied torque on successive sizes of drill bit.
The nozzle outlet, which is 0.5mm in diameter, was a pain to clear out as I couldn't find a pin or needle that thin anywhere, let alone a drill bit, so I eventually used a short length of copper wire from a bag of scrap wire insulation that I'm hoping to find a sensible way to dispose of.
Very frustratingly though, upon trying to put the hot-end back together, I found that the threaded end of the PTFE insulation no longer fit the thread inside the brass nozzle, and was starting to strip the tread when I tried to put it in.
PTFE? Warping? Oh right, yes that does happen sometimes. -_-
It looks like I ought to get another insulation block as spare, but anyway after much messing about trying to find the correct thread size to re-cut it (needed an M8x1.25 die if I remember right, thanks again pete) so that it would fit properly, I got the extruder back together to try again.
While trying to run a print again, I wasn't happy with how much friction the PLA bushings add to the sliding of the x-carriage, and how loosely they held onto the smooth rods, so I decided to design a new x-carriage with the combination of properties that I need.

When I came round to trying to print parts for my new x-carriage in ABS, I was faced with a couple more extruder failures, so I tried successively reducing the distance that filament retracted during moves from about 1.2mm down to 0.8 then 0.5 without it helping much, also increasing the target printing temperature from 240 to 245C. Sadly, this didn't help, and I was unconvinced that the clogged nozzle was my main problem, as on trying to manually push filament through the hot-end again, it seemed to be just as difficult (though easier at slightly higher temperature, hence trying that).
The filament drive definitely wasn't gripping evenly; sometimes extruding, sometimes not. That made it difficult to calibrate...
Eventually I tried a combination of reducing the retraction distance hugely to 0.2mm, the print speed to 30mm/s, and replacing the small extruder idler spring that I was using, with one of the 4 larger ones that originally held the idler on my old extruder, as I had a hunch that maybe the spring I was using wasn't applying enough pressure, against the advice I had to the contrary. This solved the problem of the extruder jamming just nicely, albeit producing quite a few loose threads of ABS in the print.
However, a short while into the print I noticed a couple of other problems; with the spring now making the filament drive tight enough, too much plastic was being extruded, making the extruder bump against layers of plastic in . I ended up sitting by the printer alternately using one hand to hold the carriage onto the rails, and the other to draft this post, for nearly 2 hours. That's not something I want to do again in a hurry.
When we talk about repetitive labour...
Part of the way through I even innovated something to make the job slightly less tedious (though still very tedious), as the way I was mounting my cooling fan before (too small for the holes on the carriage which were for a 40mm fan), was allowing it to drop down too low, cooling the hot end too much when I wanted to keep the filament drive and motor cool. So I did this:
Wire twist - easily installed with one hand (obviously I took this picture afterwards)
Here I show the dodgy carriage and express my thoughts on the situation:

Eventually I got this result:
Fugly and stringy (until I cleaned it up, then just fugly... but usable)
I put my new x-carriage top together with the old bottom part, and on trying to fit the extruder was reminded of why I was using the Prusa carriage in the first place. While I had made plenty of room in the top part to turn the extruder around, the old bottom part didn't have room for the diagonal alignment of the PEEK block on the hot-end, so not to be set back anymore, I had a go at the part with my pen knife.
It works... what more do you want?
Finally, order has returned to the system (for now) and it's working better than before, since my re-designed x-carriage allows the timing belt to be tightened on-the-fly using a neat trick that I've seen used on a couple of other designs now; an M3 nut and bolt embedded in the belt-clamp:
The new carriage has mounting holes for both this tiny 32mm fan, or a 40mm one :)
Since testing by printing a few standard Prusa structural parts, with the filament retraction returned to normal, it seems that spring pressure was the main issue here.

Good news on a design front though... I've finally got round to starting to do some CAD on printable parts for a cowled wind turbine, having only had ideas for it stuck in my head and a few scrawled sketches so far, while a group in Michigan Tech Uni have made what sounds like a better attempt at a relatively cheap plastic recycler/extruder, for which I hadn't thought of a good way to drive filament through yet, after mentioning the work of Delft Uni students before. So if their system works well and is easy to source parts for, I might not have to worry about that anymore. :)
I've also recently met someone else through TZM who seems interested in coordinating a project to start prototyping DIY rotary-hydroponics solutions into something we know works and is easy to build, which we hope can get the assistance of Douglas Mallette, as I hear he's also interested in developing that.

Sunday 16 October 2011

The First Part to Break on my Reprap Mendel

When I started a print today I was confused to see the first layer of plastic getting squashed down very flat, so that it was noticeably thinner at one end in the Y-axis. When I stopped this and checked what was happening with the extruder movement, it seemed as though the bed had lifted up at one end, which was confusing since there was no way for the sprung bolts supporting the bed to have unfastened with nylock nuts on them.
However, upon investigating a strange rattling noise that I was hearing on the opposite side of the printer, I found this:
y-bearing-180-outer-right

Wednesday 12 October 2011

X-Axis Improvement Update

Having printed a few Prusa Mendel parts since modifying my x-axis, without changing any settings, I have now seen a very slight improvement in accuracy:

Left: Greg's Hinged Wade's Extruder Idler turned out the best I've printed yet, where the top-most section forming the hinge can sometimes be troublesome as it is such a small area, Right: Z-Motor Brackets have a slight blemish on the inner surface, but no layers going significantly out of line

Monday 3 October 2011

Mendel X-Axis Upgraded

Difficult to see here: M3 nut torn away plastic around it, as its slot was too shallow to pull it out of the space the bar goes through, so put too much torque on it trying to squash plastic
So my original x-axis modification design didn't quite go to plan as I found a couple of weaknesses in the prototypes, which didn't print brilliantly in the first place, but after putting wider tolerances in places, for instance making the spaces next to the smooth rods for M3 captive nuts 1.5 times as deep as they should be, I arrived at something much more robust.

Sunday 25 September 2011

Mendel X-Axis Redesign

I was recently noticing a significant problem occurring in my prints referred to by makers as 'backlash', where some plastic deformation (permanent damage) or slack in the timing belts driving either of the X and Y axes, can lead to the extruder or printbed stopping at a slightly different real location for the same instruction, depending on which direction it moves there from.
This can be more technically termed a physical 'steady-state offset' in the way the extruder head, or any robotic part experiencing friction or loose parts for that matter, comes to rest after a movement.

Early indication: Note the ridges out of line on the near-left face; structurally insignificant here, but quite visible.

Tuesday 23 August 2011

Why Didn't I Think of This Sooner?

Recently I'd been having an occasional problem when leaving my reprap unattended, especially if there was a big new reel of plastic on that barely fit, where the filament being unwound into the extruder would be close to the outer edge of my spool.
After a while of being pushed and pulled with the printhead movements, since the friction on the PLA bushings I used in the spool hub had such low friction, the filament would unwind itself loose enough for one loop to flop off one side of the spool, get caught on something and pull the extruder carriage to one side, skewing the whole piece being printed.

A lad on the reprap IRC channel going by the name DavideV tells me he uses some fancy piece of kitchenware called a Perfect Tear Paper Towel Holder to hold his spool, which apparently ratchets around in one direction providing some tension with a spring to stop kitchen paper rolls from unravelling. I looked around for other similar products to try and find a simple mechanism  that would keep my filament in place, and one was simply using this method of pressure:
SimpleHuman "Tension arm paper towel holder"
Which inspired me to create this:
My Bungee Cord Plastic Filament Retainer (BCPFR) needs to be on quite loose so that it doesn't create the same problem that it's intended to solve.
Glory be to the gaffer, the bungee and the methylated spirit, ramen.

Monday 15 August 2011

Preventing Jams: Contradictory Constraints

Recently (okay, a couple weeks ago) after leaving my reprap printing while out buying food, I came home to find this calamity:
Extruder body print ended with some wispy filament and then a big gap of nothing.

Saturday 23 July 2011

Series Heating and Other Developments

After a long break spent graduating, moving furniture into/around our flat, and lots of other such messing around, I finally got around to permanently solving my heated printbed problem, while getting a sturdy desk to set the printer on.

First of all, I had a problem with the way my heated-bed power-supply was connected, as the circuit was fixed with solder, that meant that the adapter block was physically connected to my reprap by its cable, and that I couldn't easily change it for another power supply.
My solution to the problem of wanting to quickly connect/disconnect a DC power supply was to take some bits of electrical screw-terminal:
sometimes referred to as a 'chocolate block' connector, cheap in long blocks
...and bolt it to one of Nicoll's bolted PLA bushings for Prusa Mendel.

Tuesday 14 June 2011

Printing Prusa

After several prints using ABS, I can now safely say that this low-powered heated bed is capable of printing ABS parts under some stringent circumstances.

First of all, to reach this performance, I did my best to insulate the bottom surface of the aluminium plate, which so far has involved taping a couple of strips of a few more cotton wool pads underneath, and (I kid you not) stuffing an old worn out cotton sock and a bandana underneath to fill out some of the remaining space. If I had one big piece of cotton wool to fill the whole gap, it would probably work better, but I don't.

So, by pre-heating the bed either by covering it with something insulating on top (slow) or resting a clothes iron on top (fast) and bringing the temperature above 110C, I could print some small ABS parts on the bed, and larger ones with the aid of raft material.

Saturday 11 June 2011

Testing ABS on Mendel Parts Heated Bed

It has been suggested that you can't print ABS on a RepRap Mendel built with the current kits supplied on mendelparts.com, since they include a power supply for the heated bed that only delivers 70W at the highest voltage, and that isn't enough to produce temperatures high enough to keep the parts stuck down.

Recently, I have been trying to challenge that claim with a few tests of my own. Firstly I taped some cotton wool under each of the heating resistors to provide a bit of insulation, hoping that would conserve some of the heat, and then pre-heated the printbed using an iron again, turning the thermostat up to the setting for cotton and leaving it for a few minutes, which brought the bed up to a temperature of around 110C.
Kapton tape hugs makeup removal pads over heating resistors under the printbed.

Wednesday 8 June 2011

Quest To Use ABS

It's been a busy couple of weeks to say the least.
The design for my modular rotary hydroponic unit is now pretty much complete and ready for testing.
1 Ring with boards to support a PE sheet sump to hold mineral solution. Can be extended to more rings, and it has been suggested to use a stock drip-tray from garden stores underneath instead of hacking that sump together from scraps.
However, to start printing and testing parts for this, I really should be using ABS, not only for its superior strength to PLA, but because when being repeatedly dipped in a nutrient solution and stressed in a warm humid atmosphere, PLA could come under attack from microbes that would otherwise turn up to biodegrade it in a compost heap.

Friday 20 May 2011

Do Cartwheels, Feed People

Rotational Hydroponics. It's an idea that's been around mostly unknown for the last decade, and has the potential to revolutionise* the way we grow food.
*Pun intended.
MS-Paint Art by me. :P
Essentially, by rotating plants plants around a source of light, you can manipulate the way they grow by the combination of heliotropism and geotropism.

Sunday 15 May 2011

Spot The Difference

...and win some free lulz!
A Picture...
Says a Thousand Words.

Wednesday 11 May 2011

Bootstrapping Support

Thanks again to more advice from the regulars of the RepRap IRC channel, I've managed to greatly improve my print accuracy by improving the firmware I'm using, and finally allow myself to leave the printer alone to do its job by getting a filament spool mounted where it can spin freely, instead of me having to keep turning the thing over.


Sunday 8 May 2011

Better Settings

This was the last print I've done so far, using up the last of my couple metres of testing filament, and just in time too; the settings are just about right now.


The parts I needed to change, for others' reference, was to have the 'Feed Rate' and 'Flow Rate' equal in the 'Speed' tab of SkeinForge 40.

Friday 29 April 2011

On Small-Scale Plastic Recycling

While struggling through my last exams ever this week, I've been coming down with a fever, so I hope this blag makes sense, as I can't concentrate on much else right now.

Continuing along my previous train of thought (A Mission Statement), I've been considering how one might best go about recycling such sometimes 'non-recyclable' recyclable plastic bits as small bottle caps, yoghurt pots, or some of the chunkier waste material produced by failed prints.

Wednesday 20 April 2011

D'oh

The temperature was not the only problem I had (though it may have played a small part). It seems that in my haste to get my printer working, I overlooked a key thing that I needed to calibrate, which I hope anyone after me will remember.

While the firmware on Gubbels' Gen6 electronics will turn the various stepper motors for axis control as far as they should do out of the box, the motor settings for the extruder drive need to be calibrated so that the plastic feeds out at the right speed. It seems that while the Mendel Parts kit was using Adrian's geared extruder, the firmware's step value for the extruder was way off.

This is what resulted in a test before a few people on the RepRap IRC helped me identify the problem:
I'm glad that's biodegradable.

Sunday 17 April 2011

It's Alive!

Although a bit shoddy so far...

A somewhat crazy end to the week, first I get the neighbours upstairs leaking water through the bathroom light fitting and blowing it out, then British Gas take too much on my direct debit and put me through the bottom of my arranged overdraft, not making other things easy.
Nevertheless, good friends are on hand to help out. With that drill borrowed from an ex-bowyer, I made quick work of the heating resistor mounting on my reprap's printbed, and luckily had a handy friend with a soldering iron nearby.
Heated bed developed by C Gubbels. Only way available to connect that power seemed to be by splicing and soldering wires, hence the zip tie for strain relief.

Thursday 14 April 2011

Bodge It Quick

Having spent nearly all the funds I have til my last student loan payment on this kit, and finding the local hardware stores without a countersink bit, I went through various forms of 'ingenuity' so far this week in my quest to get this printer up and running.

For starters, I really wanted those bolt holes counter-sunk, at least the ones that held the bed onto the Y-axis assembly, anyway. So what does a man do when he has a drill bit big enough to counter-sink the hole, but no drill big enough to hold it, nor cash to get one?

What to do, I ask you?

Monday 11 April 2011

In One Piece... Almost

After some going round in circles with small assemblies on a few late nights earlier in the week, plus moving my PC into the same workspace so that I could interface with it there, which involved running a long ethernet cable, I finally got the mechanical parts of my RepRap together.
Crazy wires want some electrical tape, extruder wants something to extrude on.
The main mistake that I made and learned from, was going and following the helpful step-by-step instructions on the RepRapWiki before actually checking the complicated assembly models of the custom 'Mendel v2.0' and taking measurements.

Monday 4 April 2011

Building A RepRap

All the fun of a lego set with all the repetition and small cuts of picking brambles.
Fun times.
Also, washers. Washers everywhere.

Friday 1 April 2011

Makeshift Workbench

...is making shift for a reprap.
Parts laid out to build

Thanks to my neighbours for the random scrap wood, it's amazing what some people will throw out. Could still do with more planks though.


The Mendel Parts Hot-End v5

They always seemed bigger in the webshop's pictures... I guess Camiel has a good camera. :3

Thursday 31 March 2011

A Mission Statement

We have a very big problem on our hands.

This problem affects every human being on this planet, rich or poor, while damaging the earth's ability to support our existence... This problem has been going on for the last hundred years, and has only intensified recently as the global economic paradigm of never-ending growth has increased resource throughput virtually everywhere in society.

This problem is the mass dumping of toxic and non-biodegradable plastics from worn-out goods and over-packaged consumables in many areas across the globe, though typically forced into poorer regions to keep it out of the sight and smell of our plutocrats.

A landfill in Barclay, Ontario, Canada - Wikimedia Commons