Like on many occasions while living in the city, I recently found some old broken electronics chucked out of someone's flat before a day when the city council sends round workers to pick up bulky rubbish like broken appliances and furniture (it seems almost nobody knows how to repair things anymore, or they are too busy watching TV to do it).
First I picked up another halogen heater that broke at the base and was produced of even more plastic than the previous one I found, this time made by Hyundai (yes I'm naming names, you wasteful b*stards) yielded another synchronous motor that I could use in a rotary hydroponics prototype.
 |
| Were your amazing cars selling so poorly that you had to move into another market of things that break down quickly? The power supply on the left was torn out of something else... |
Even better, I found a not-very-old inkjet printer that had clearly stopped working in some way, as a previous owner had booted in the side of it, so there was not much point attempting a repair.
 |
| Perhaps I should have taken this photo before stripping it apart, but curiosity got the better of me. |
 |
| Cheap synthetic rubber cracking up? |

Anyway, as I took apart the very complicated structure of the printer piece by piece, I came across a wide assortment of different parts, some of which are shown strewn across the floor here in a filing system known only to Heisenberg:


Naturally in a printer, there were a few DC motors, but these aren't the more expensive, robust, and controllable stepper motors that you use in CNC machines...
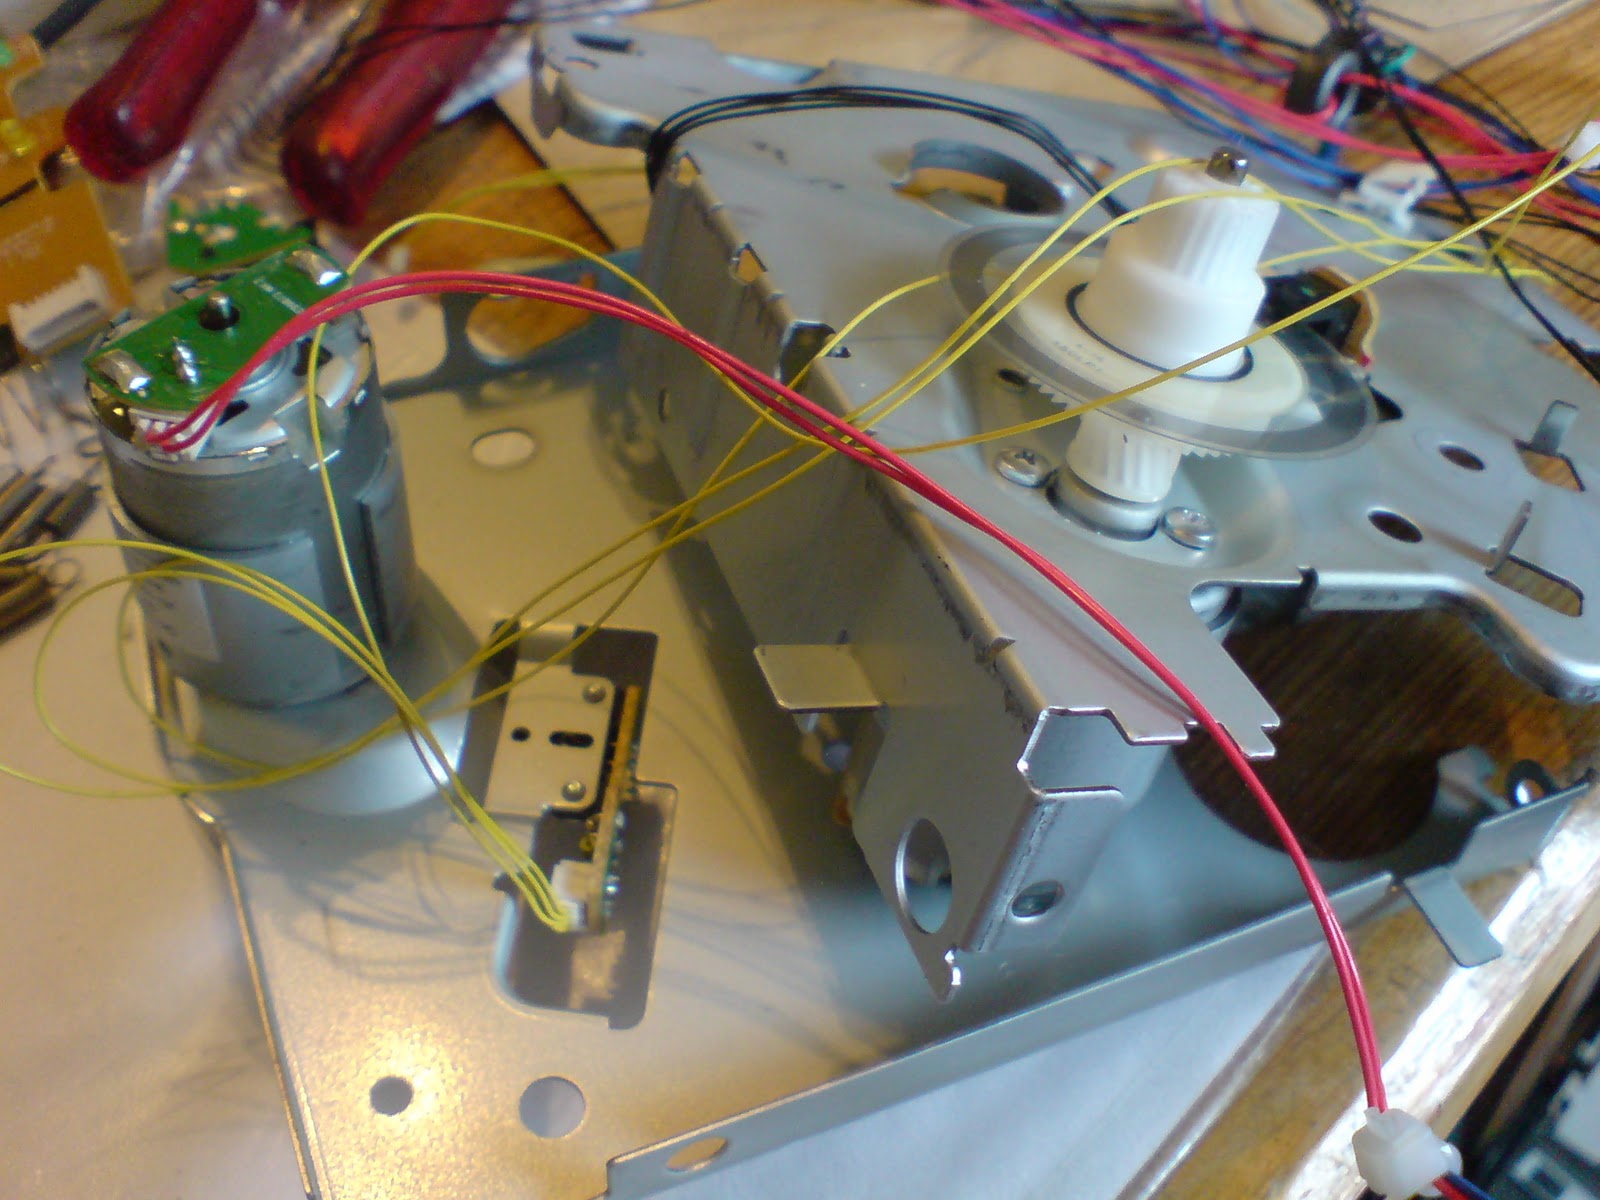 |
| Four in total, two of them attached to side brackets here. |
 |
| If anyone can identify what spec. these motors are, that would be cool. The power supply quite strangely output 24V and 36V DC lines if I remember correctly. The markings on the motors however divulge nothing about electrical input or torque output. |

 |
| The grey marks on the lower bars are from where I pulled off spongy rubber rollers similar to the ones on the top bar, using a pair of pliers. |
 |
| Now in their own wee baggie for spare springs, which previously contained some of the smaller parts that built my reprap. |
All this goes without mentioning the pile of assorted screws holding these things together that you can always get just from taking them apart, whether you use the rest or not... oh, and lots of odd gears, most of which aren't at all useful due to their weird mountings.
At the end of this particular salvage operation, I looked slightly like I'd just raided an ATM, but it was lots of fun.
On a related note, the only power tool of my own that I've been using up to now broke the other week around the same time; that was my cordless rotary tool from Dremel.
The blue switch-dial in the picture below no longer 'clicks' as it moves on/off from the zero mark, and consequently no power gets to the motor. I don't know what about the switch has caused it to break, although there is a peculiar hole in the side of it, that almost looks like something might have fit in there, yet there were no parts rattling around when I opened it.
 |
| Worked fine until 6 months after the warranty expired. Who could have guessed... |
Either way, take this as a firm anti-recommendation of Dremel's products.

Zebedee would be so proud of you for saving all those springs :)
ReplyDeleteAmazing! So many bits in a printer that could have further use!
ReplyDelete